How to Use and Install Lightroom Presets
This guide explains how to install and use presets in Adobe’s photo editing apps: Lightroom Classic, Lightroom, and Lightroom for iPad.
Jump to the section for the app you use.
We’ll walk through the steps using «Sony Preset Pack», a preset pack developed for SONY cameras.
1. How to Use and Install in Lightroom Classic
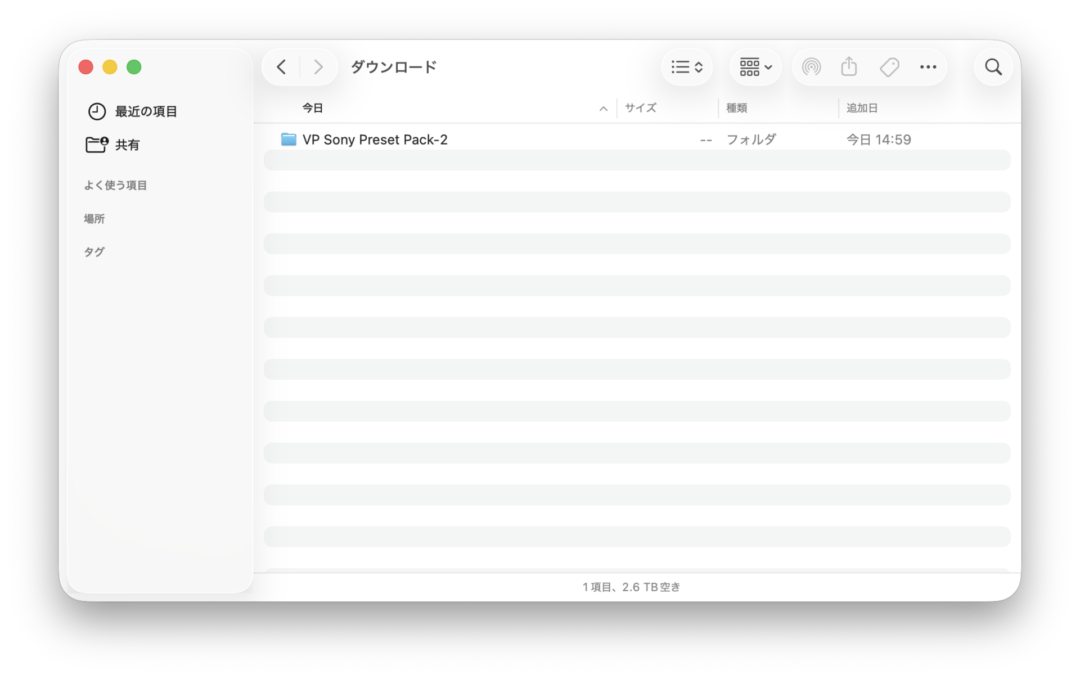
① Download the presets from Visual Park
② Import your photo and go to the Develop module

③ Select “+” in the Presets panel → choose “Import Presets”

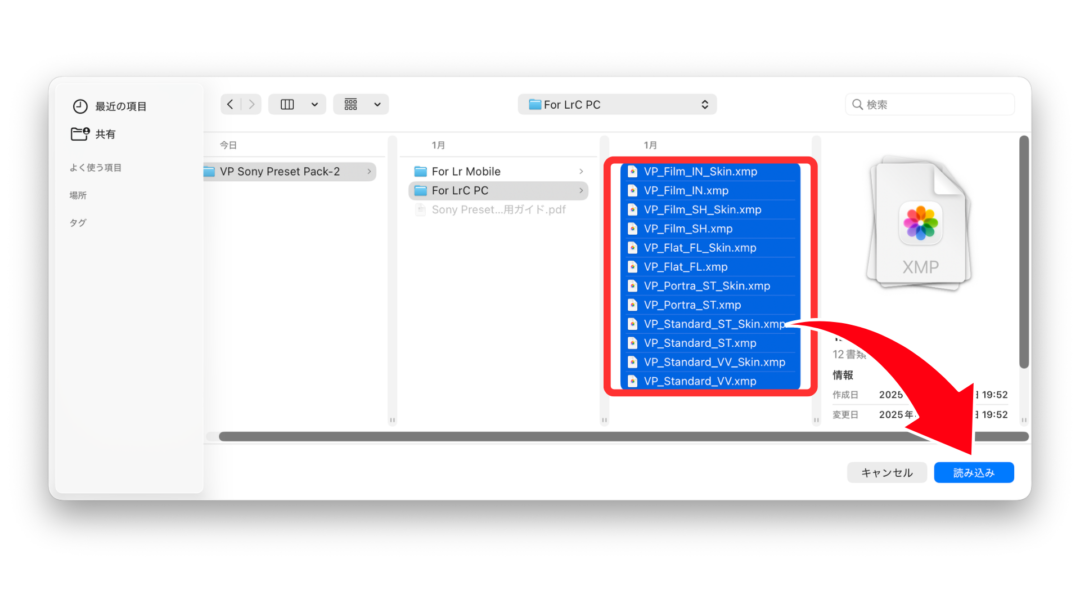
④ Select every .xmp file inside “For LrC PC” and choose “Import”
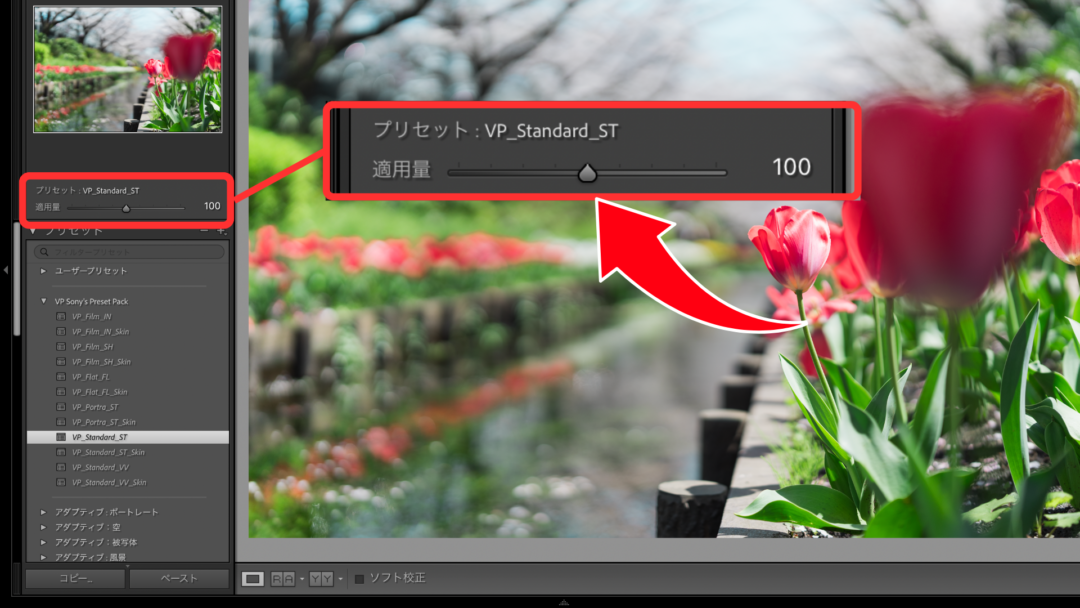
⑤ Pick the preset you want

⑥ Adjust the amount as needed.
2. How to Use and Install in Lightroom (Desktop)
① Download the presets from Visual Park

② Open a photo and click the three-dot menu at the top right of the Presets panel

③ Choose “Import Presets”

④ Select the “For LrC PC” folder and choose “Import”

⑤ The presets are imported and ready to apply.

⑥ Adjust the amount as needed.

3. How to Use and Install in Lightroom (Mobile: iPhone / Android / iPad)
① Download the presets from Visual Park

② Open a photo and choose “Import Presets”

③ Select the .zip file to import it into Lightroom

④ Apply the preset and adjust the amount if needed.